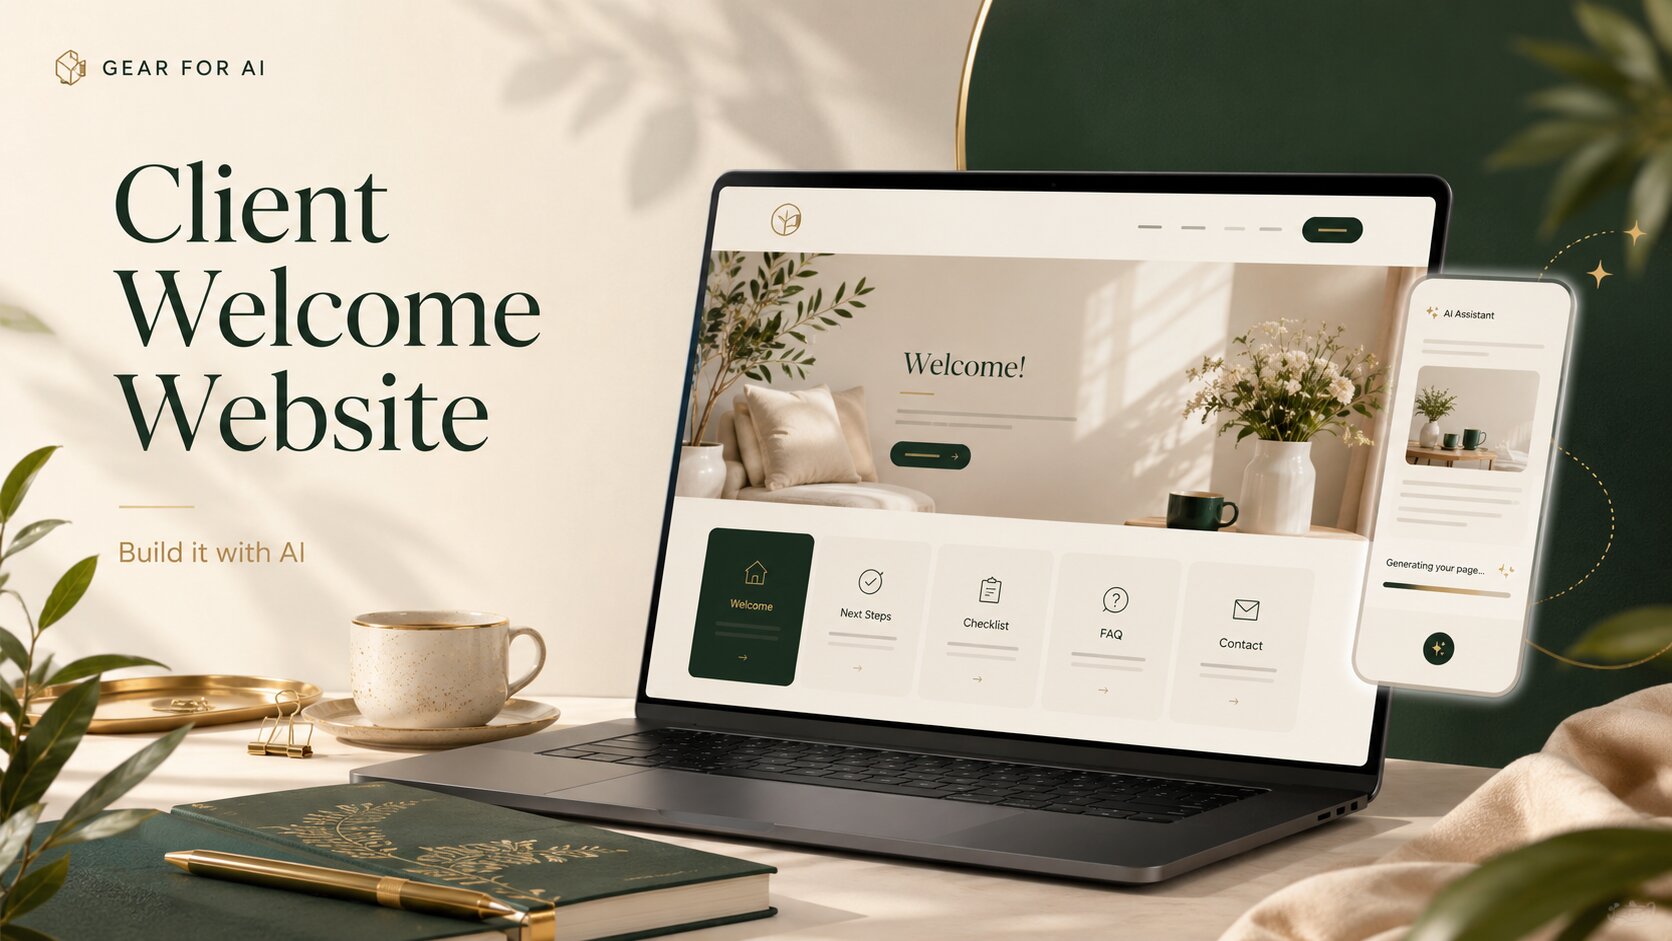
A client welcome website is a simple interactive page you send a new client after they book — explaining what happens next, what to do, and where to find you, all in one clean link.
Think of it as a digital version of a client welcome packet. Instead of resending the same long email or a static PDF, you build one useful page that guides your client through the next steps.
This is a very good beginner vibe coding project because it solves a real business problem. You are not building a complicated app. You are building one useful page that helps your client feel less confused.
What is a client welcome website?
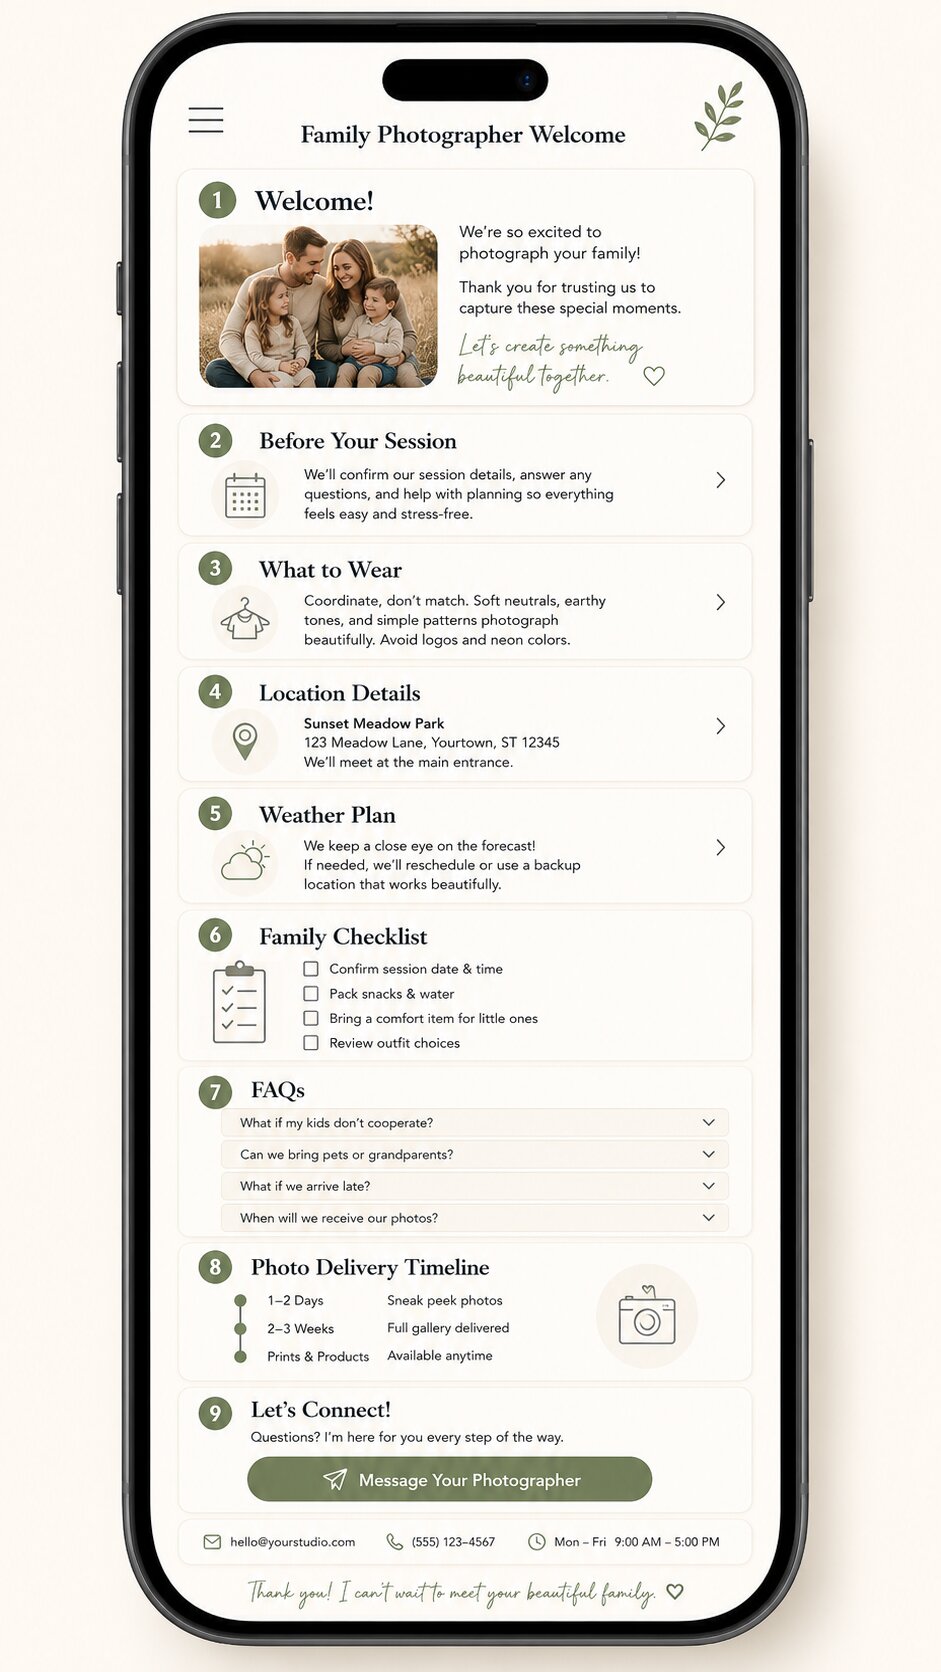
A client welcome website is a simple webpage you send after someone becomes a client. It can include:
- a welcome message
- what happens next
- your service process
- client checklist
- FAQs
- contact details
- business hours
- useful links
- basic policy notes
- booking, payment, or intake form links
For example, a photographer could send a welcome website after someone books a family photo session. A tutor could send one after a parent confirms weekly lessons. A virtual assistant could send one after a new client signs up for support. A cleaner could send one after a first home visit is booked.
The page does not need to be fancy. It just needs to answer the questions your client is probably already thinking.
Why build this instead of sending a PDF?
A PDF can still work. There is nothing wrong with it. But a website feels easier to use on a phone — your client can open the link, tap through the sections, expand FAQs, tick off checklist items, and find your contact details quickly.
📄 Static PDF
- Redesign and resend on every change
- Awkward to read on a phone
- No interaction or checklist
- Easy to lose in an inbox
🔗 Welcome website
- Update once, the link stays the same
- Built mobile-first
- Tappable FAQs & checklist
- One link, always current
Most small businesses do not need a full client portal. They just need a better way to explain what happens next. That is why this project works.
Who is this useful for?
This type of welcome website is useful for service-based small businesses, especially if you work directly with clients:
These businesses often get the same questions again and again:
“What do I need to send you?” · “When do we start?” · “How long does it take?” · “What happens after payment?” · “How do I contact you?” · “When will I receive the final result?”
A welcome website answers those questions before the client has to ask.
What should the website include?
Start with one simple page. Do not make this bigger than it needs to be. A good first version could include these sections.
Welcome message
Start with a short message that makes the client feel looked after.
Keep this section warm and simple. You do not need a long brand story here — the client mainly wants to know they are in the right place.
What happens next
This section should explain the next few steps clearly.
This is one of the most useful sections because it removes the awkward “what now?” feeling.
Process timeline
A timeline helps the client understand how your service works.
This does not need to be complicated. A few timeline cards are enough. The goal is to make your process visible.
Client checklist
This is where the website becomes more useful than a normal document. You can add a simple checklist the client can tick off — try it below:
- Save this page
- Add appointment to calendar
- Complete intake form
- Send required files
- Read FAQs
- Save contact details
Tap an item to tick it — for version one, the checklist can work only in the browser. No login or database needed.
FAQs
Use expandable FAQ cards so the page does not feel too long. Example questions:
- How do I contact you?
- What are your working hours?
- What happens if I need to reschedule?
- When will I receive the final result?
- What do I need to prepare before we start?
This section can save you a lot of repeated messages. A small detail, but it matters: write the FAQ answers in the same tone you would use with a real client. Clear, calm, and not too formal.
Contact details and business hours
Make this easy to find. Include your email address, phone number (if needed), working hours, average response time, and emergency contact rules (if relevant). This section helps set boundaries without sounding cold.
That is simple and clear.
Policy notes
You can include short notes about cancellations, rescheduling, payment, revisions, delivery times, and communication.
Do not turn this into a legal document. This page is for onboarding and communication. Contracts, invoices, and formal policies should still live where they belong — the welcome website just helps the client understand the basics.
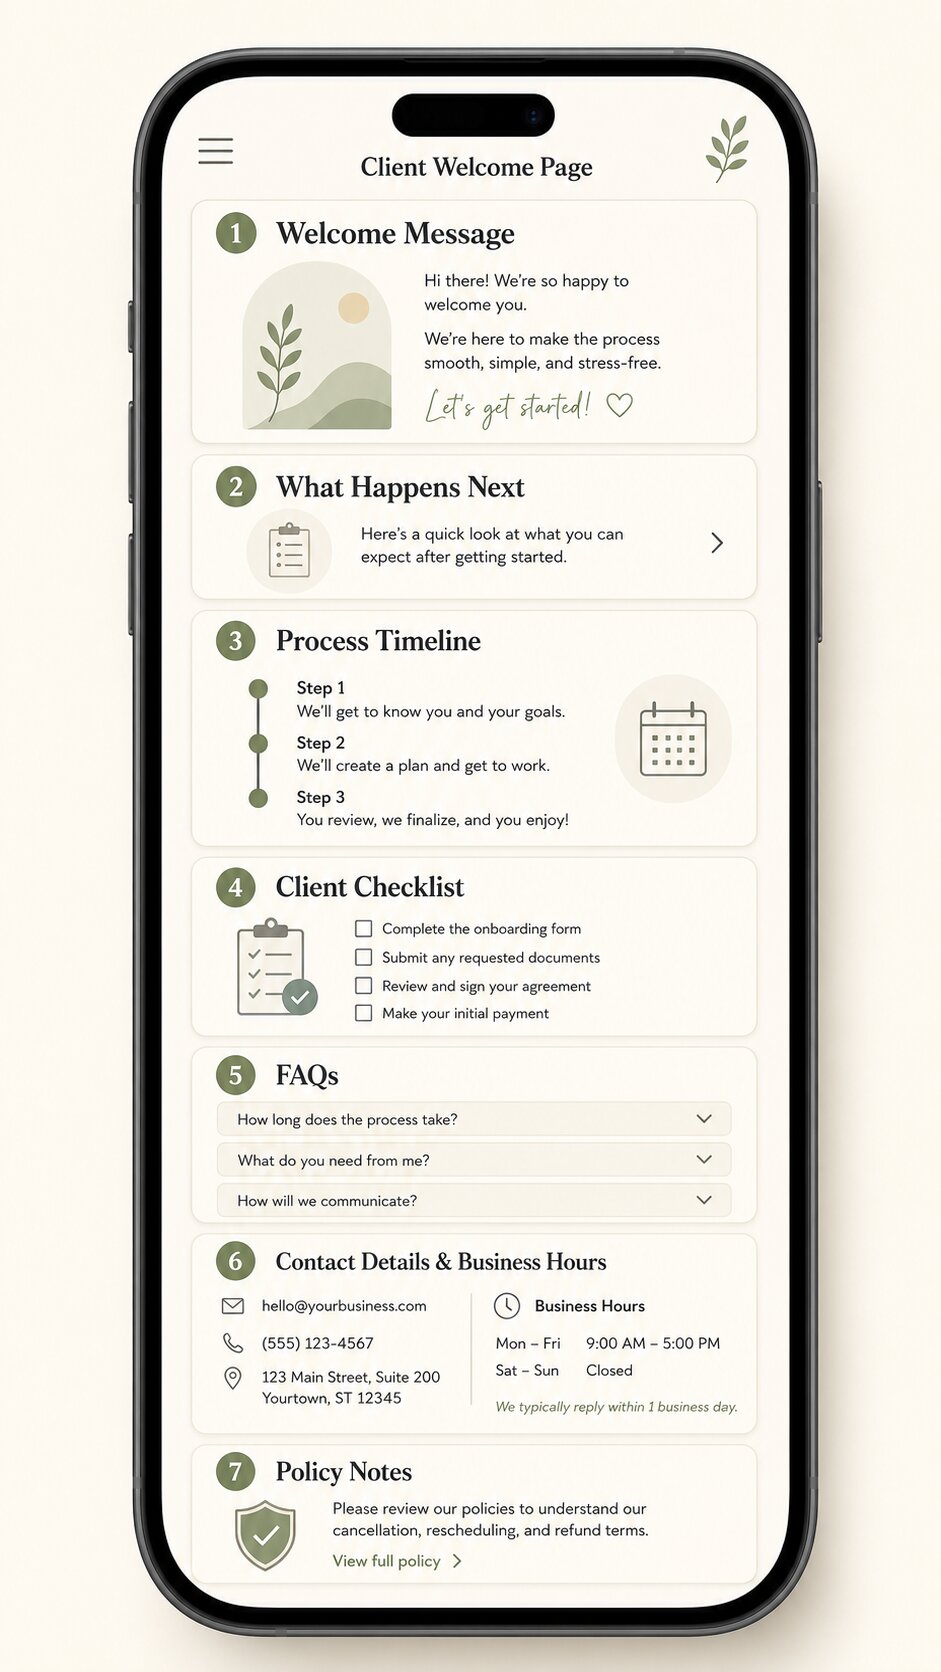
Example: a client welcome website for a family photographer
Let’s use a simple example. A family photographer could send this welcome website after someone books a photo session. The page might include:
- a warm welcome message
- what happens before the session
- what-to-wear tips
- location details
- weather plan
- checklist for the family
- FAQs about kids, outfits, late arrival, and gallery delivery
- timeline for receiving edited photos
- contact button
This one page could reduce a lot of back-and-forth messages. It also makes the photographer look more organised. The client feels calmer because they know what to expect. That is the real value.
Why this is a good vibe coding project
This is a good vibe coding project because the scope is small and clear. A lot of beginner coding projects become too big too fast. People start with login systems, dashboards, databases, payments, file uploads, admin panels, automation, and user accounts — then the project becomes stressful before anything useful is finished.
This idea is different. The first version can be one simple page.
✓ All you need for v1
- clean layout
- mobile-friendly design
- interactive checklist
- expandable FAQs
- clear content
- contact buttons
✕ Skip for now
- login systems
- dashboards & admin panels
- databases
- payments & file uploads
- automation
- user accounts
The win is not building something impressive. The win is building something your business can actually use.
How Claude Code can help
Claude Code can help you create the website by turning your instructions into code. You can ask it to build a simple React website, create reusable sections, improve the layout, fix bugs, and help you edit the content. But you still need to guide the project.
Claude Code can build the page. You decide what the client should feel, understand, and do next. That is the part AI cannot guess properly unless you give it real business context.
Before you ask for code, write down your actual onboarding information. Start with:
- What do new clients usually ask?
- What do they need to send you?
- What happens after booking?
- What should they prepare?
- What are your working hours?
- What policies do they often forget?
- What would make them feel more confident?
This gives Claude Code something real to work with.
A simple tech setup for version one
For a beginner-friendly version, you can ask Claude Code to build the website using:
You do not need a backend, database, login, payment system, file upload, or client dashboard — not for version one. Build the simple version first. Then improve it only if the business actually needs more.
The 6 prompts to build it with Claude Code
Copy these prompts in order. Each one has a one-click Copy button — paste it straight into Claude Code.
Simple build workflow
Here is the easiest way to approach the project.
Simple interactive features to add
Here are useful interactive features for version one.
| Feature | Why it helps |
|---|---|
| Expandable FAQs | Keeps the page clean |
| Clickable checklist | Helps clients know what to do |
| Timeline cards | Makes the process easier to understand |
| Copy email button | Makes contact easier |
| Download PDF button | Lets clients save a copy |
| Progress indicator | Makes onboarding feel guided |
| Back to top button | Helps on mobile |
Keep the interaction practical. Do not add animation just because you can.
What not to build in version one
Avoid these at the start:
✕ Not now
- client login
- full dashboard
- online payments
- database
- file uploads
✕ Not now
- admin panel
- automatic emails
- private client accounts
- too many pages
- too many animations
These things can come later if you really need them. The goal is not to create software — the goal is to make your client onboarding clearer.
A simple interactive welcome website for small business owners who want to onboard new clients without sending long emails or static PDFs.
That is the whole idea. It helps the business owner look more organised. It helps the client understand what happens next. And it gives you a useful reason to try vibe coding without building a random project.
Why this matters for small business owners
AI works best when it helps you with a real task. This project is a good example. You are not asking AI to magically run your business — you are using it to turn a repeated business problem into a simple tool.
You still bring the important part:
- your process
- your tone
- your client expectations
- your boundaries
- your business judgment
Claude Code can help build the page. But your real-world context is what makes it useful.
Start with one page
Add your real process. Make the checklist helpful. Keep the design clean. Test it on your phone. Then send it to one client. A useful small website beats a big unfinished app — that is the kind of vibe coding project that actually makes sense.
Grab the prompts & start building →Frequently asked questions
Quick answers before you start building your client welcome website.
Do I need to know coding to build this?
You do not need to be an expert developer, but you should be comfortable following instructions, testing the page, and asking Claude Code to fix issues. You still need to review the result carefully.
Should this replace my contract or legal documents?
No. A welcome website is for onboarding and communication. It should not replace contracts, invoices, legal policies, or professional advice.
Should I add a client login?
Not for version one. A simple link is enough for most small businesses. Add login only if you truly need private client-specific information.
Can I create different versions for different services?
Yes. For example, a photographer could create one welcome page for family sessions and another for weddings. A coach could create one for group programs and another for one-on-one clients.
What is the simplest version I can build?
The simplest version is one mobile-friendly webpage with a welcome message, next steps, checklist, FAQs, contact details, and a call-to-action button.